What do you mean by Single Sign On? Why do we use it? When do we use it?
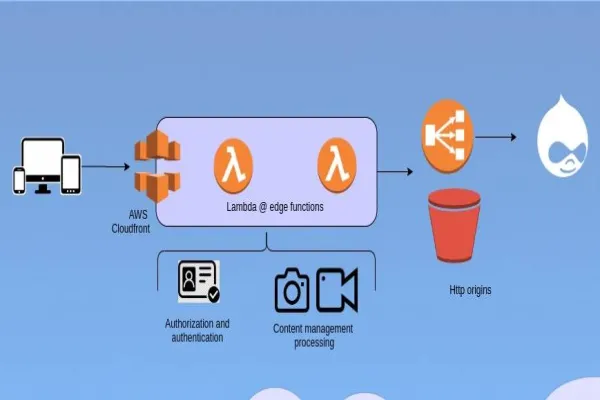
Single Sign On is an authentication service that allows users to use one set of credentials i.e(username and password) to login to multiple sites. For example you are creating a main website for an university and there are ‘n’ number of websites for ‘n’ number of departments in the same university. You can login to main website, that will allow you to login to the respective department sites as well.
For SSO, there are two main parts namely, IDP (Identity Provider) and SP (Service Provider).
Configuration of SimpleSAMLphp on Drupal 8 may vary according to IDP such as Shibboleth 1.3, A-Select, CAS, OpenID, WS-Federation or OAuth.
Relevant: Configuration Management in Drupal 8 vs 7
Here we going to see how to setup SSO using SimpleSAMLphp using Shibboleth in Drupal 8.
Requirements:
- SimpleSAMLphp library (Latest Version is recommended. My version in simplesamlphp-1.14.8).
- Drupal 8 (Latest Version).
- SimpleSAMLPhp_auth module (https://www.drupal.org/project/simplesamlphp_auth).
SimpleSAMLphp configurations:
For the site which is acting as the Service Provider, following are the configurations that need to be done.
- Download the SimpleSAMLphp library from (https://simplesamlphp.org/download).
- Put the folder in the level of your docroot.
- In docroot directory, create a symbolic link (named simplesaml) that points to simplesamlphp-1.14.8/www directory in the DRUPAL_ROOT directory.
Command to create symbolic link is :
ln -s simplesamlphp-1.14.8/www ./simplesaml (here my version is simplesamlphp-1.14.8)
- To generate certificates, create cert folder inside the simplesamlphp-1.14.8 folder as (DRUPAL_ROOT/simplesamlphp-1.14.8/cert)
Run the following command inside the cert folder from terminal:
openssl req -new -x509 -days 3652 -nodes -out saml.crt -keyout saml.pem
- It will create two files saml.crt and saml.pem.
- Configure config.php which will be inside DRUPAL_ROOT/simplesamlphp-1.14.8/config/config.php
- Change the ‘store.type’ as ‘sql’
- ‘store.sql.dsn’ as ‘mysql:host=localhost;dbname=db_name’ here the host will differ according to your server and dbname will be the your database name.
- 'Store.sql.username' as ‘server database user_name’
- 'Store.sql.password' as ‘server database password’
- Enable this functionality 'enable.saml20-idp' => true, this setting is to receive the IDP request.
- Change the ‘auth.adminpassword’, ‘technicalcontact_name’, ‘technicalcontact_email’ as per your requirement.
- Add this snippet after config = array(); (i.e) at the last line.
$config['baseurlpath'] = 'http://'. $_SERVER['HTTP_HOST'] .'/simplesaml/'; (its mandatory). - After this step you can hit the above url.e.g:(example.com/simplesaml)
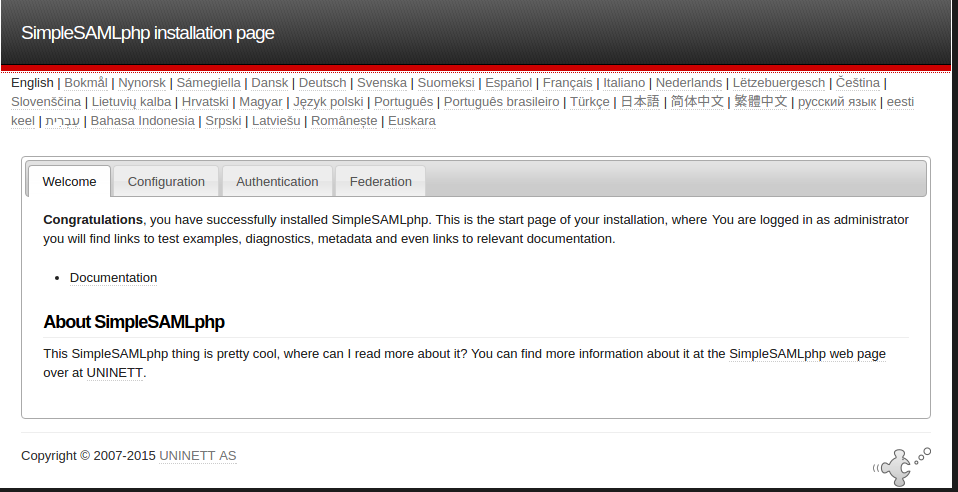
- Login as admin and type the password which you have assigned to ‘auth.adminpassword’ and the screen will look like the image below:
- Goto Federation Tab and copy the SAML 2.0 SP Metadata and send it to the Identity Provider site administrator. SAML 2.0 SP Metadata will look like:
- Paste the IDP metadata which you will receive from your IDP Provider inside /simplesamlphp/metadata/saml20-idp-remote.php. SAML 2.0 IDP metadata will look like:
- Now configure the authsource.php inside config folder as shown, inside default-sp array you need to write the following code:
Drupal Configuration:
- Download the Simplesamlphp_auth module.
- Run composer drupal update command so that all the library required for simplesamlphp_auth module gets downloaded in the docroot/vendor folder.
- Enable the module.
- Navigate to Administration > Configuration > People > Simplesamlphp_auth (http://yoursite/admin/config/people/simplesamlphp_auth)
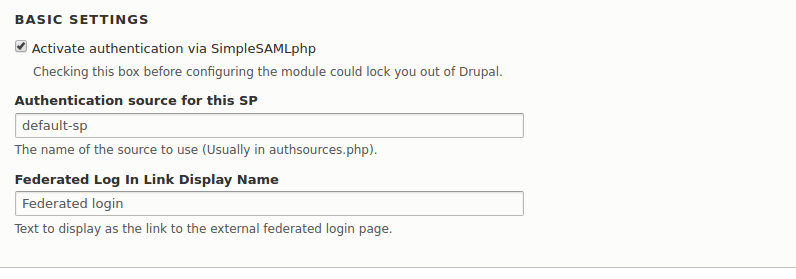
Basic Settings: tick the Activate authentication via SimpleSAMLphp. This should be checked to activate the simplesamlphp integration with Drupal.
Local Authentication:

User Info and Syncing:
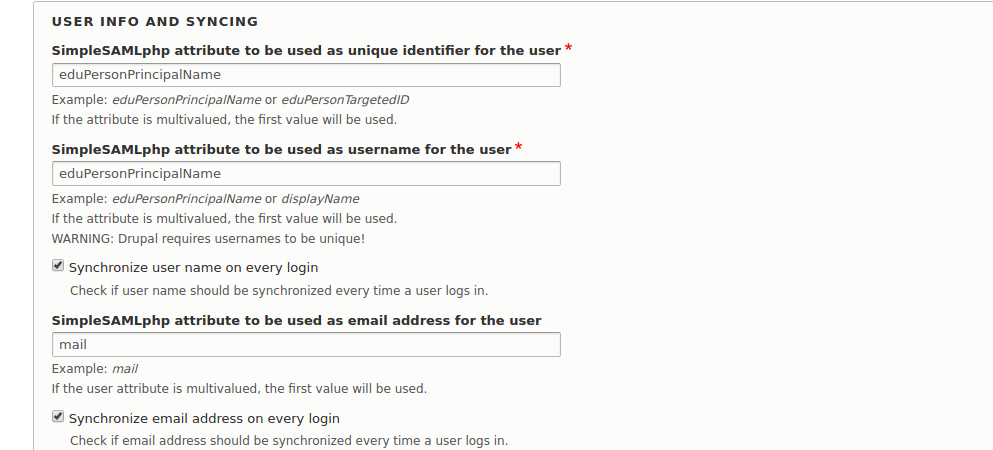

- Add the following snippet to .htaccess
- After saving the configuration add the following snippet in settings.php. It is mandatory
Now hit example.com/saml_login (SP Site) it should redirect to your (IDP Site)url. After redirecting to the site which is set as IDP, you need to login using (name and password).Hit the Sign in button,you will be again redirected to your (SP Site).Now if you go to you IDP Site you can see that you are logged in to that site too.
This is what SimpleSAMLPhp all about.
Related:
Configure Apache Solr with Drupal for better content search
Building Configuration Form in Drupal 8
Configuring Memcache with Drupal 8 to reduce database load
