

There have been times when clients are not very satisfied with the default Drupal search as it does not meet their requirement especially when you need specific search control beyond core e.g. facets and related content. In order to resolve this issue and make search fast for end customers, we can use Apache Solr - an open source enterprise search platform - and configure it with our Drupal site.
In one of our previous blog post, we have discussed “How To Create Custom SOLR Search With Autocomplete In Drupal 7”. Note, before creating custom Solr search, we need to set-up Solr in the server and configure with Drupal, and this is what I am going to talk about on this blog. Here, we will also learn to create the core in Solr. Unlike Ubuntu, you can also set-up Solr on Windows machine.
You may also like to check out our previous post on Installing & configuring Apache Solr-5.2.0 with Drupal 7 using Search API on Ubuntu 14.04.
Note: In the above-mentioned blog, Apache Solr - 5.2.0 is configured with Drupal 7 and in this blog, I am configuring Apache Solr - 6.6.1 with Drupal 8.
Prerequisite
Setting up the Java environment
As we all know, Solr is a Java application and to setup Solr we need Java runtime environment. Also, we need to install Python software properties to install the latest Java 8.
You can run the following commands to install Python software.
sudo apt-get install python-software-properties
After executing the command, add the webupd8team Java PPA repository in your system by running:
sudo add-apt-repository ppa:webupd8team/java
Then update the package lists to fetch the available packages from the new PPA:
sudo apt-get update
Now install the latest version of Oracle Java 8 with this command:
sudo apt-get install oracle-java8-installer
After installing Java, check the version by running the following command:
java -version
Installing Solr application
Step 1 Download the latest version of an available package from Apache web page using the wget command. For this setup, I am using Apache Solr 6.6.1
Cd /tmp
Wget http://www-us.apache.org/dist/lucene/solr/6.6.1/solr-6.6.1.tgz
Step 2 Now run the below-mentioned command to extract the service installation file:
tar xzf solr-6.6.0.tgz solr-6.6.0/bin/install_solr_service.sh --strip-components=2
Step 3 Install Solr as a service using the script:
sudo ./install_solr_service.sh solr-6.6.0.tgz
Step 4 Use the given below command to check the status of the service
service solr status
Step 5 After installing the Solr, create the core in the Solr.
Note: This is an important step so that we can index the contents to the Solr
By running the following command, core will be created in the solr server.
Here, first_solr_core is the name of the core
sudo su - solr -c "/opt/solr/bin/solr create -c first_solr_core -n data_driven_schema_configs"
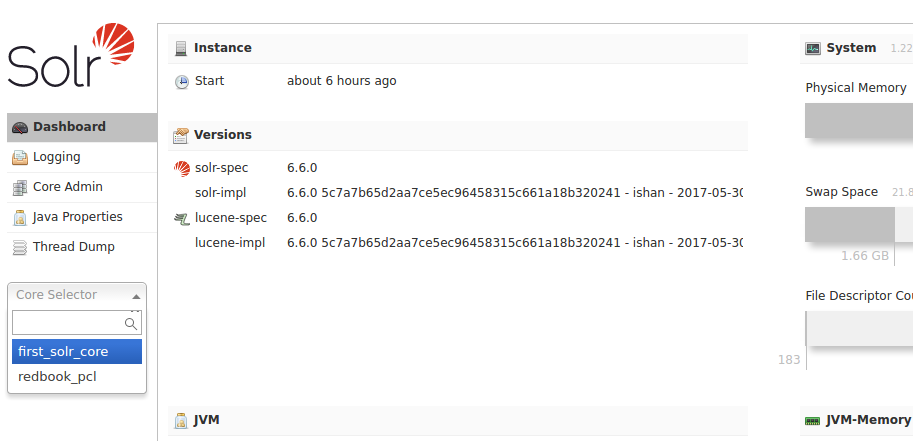
Now that Solr core has been created, you can check it in the solr dashboard.
Configuring with Drupal 8
After installing Solr in Ubuntu you need to configure it with Drupal 8. Let’s see how to do it step-by-step:
Step 6 Download the search api solr module and copy the files from Solr-conf directory respective to Solr version installed.
Example: In this, we will copy all the files from search_api_solr/solr-conf/6.x and put that files under /var/solr/data/first_solr_core
Step 7 Restart the Solr server by using the following command:
Sudo solr service restart
Okay, so now you know how to setup Apache Solr in Ubuntu and configure it to speed up your Drupal search. Just to let you know, for me it worked and I successfully configured Solr with Drupal site for one of our client. Go and try Solr on your website and see what it can do for you. Do share your experiences by commenting on this post.