

I was working on one of the projects where the client was not satisfied with the existing drupal search as it was not able to meet their requirements on the site. So they decided to go with Apache Solr.
Those who are not aware of what exactly it is, I would like to give them a very basic introduction or a description of what it does.
Apache Solr is an open-source search platform built upon java library. It’s one of the most popular search platform used by most websites so that it can search and index across the site and return related content based on the search query.
For more detailed information, please visit http://lucene.apache.org/solr/
So let’s begin with solr installation. To install Solr on the windows system, the machine should have [JRE] Java Runtime Environment with the right version.
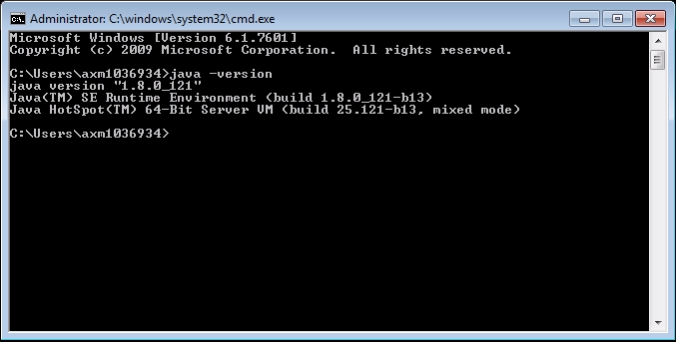
Step 1: Go to cmd prompt and check for JRE with correct version.
If JRE is available in your system it will show you the version. If not then you have to install JRE
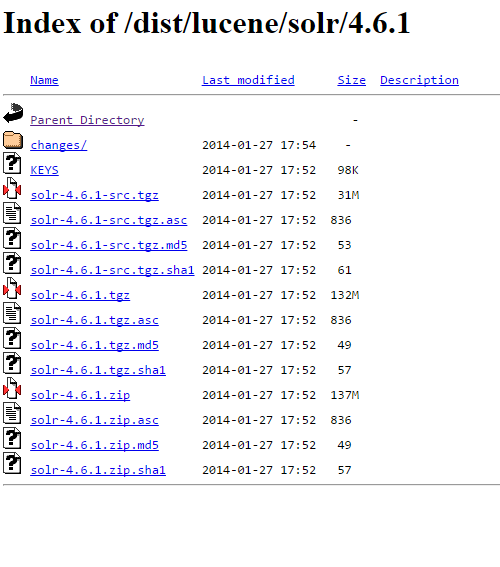
Step 2: Download require solr version from below url
https://archive.apache.org/dist/lucene/solr/
For this tutorial i have downloaded 4.6.1 from https://archive.apache.org/dist/lucene/solr/4.6.1/ Download solr-4.6.1.zip File
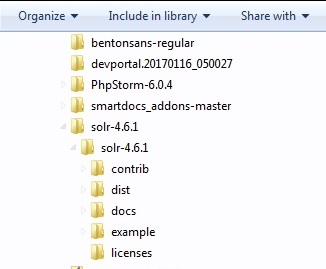
Step 3: Extract the Zip folder in your machine.now go to extarcted solr folder. Get inside the example folder and execute the command
java -jar start.jar
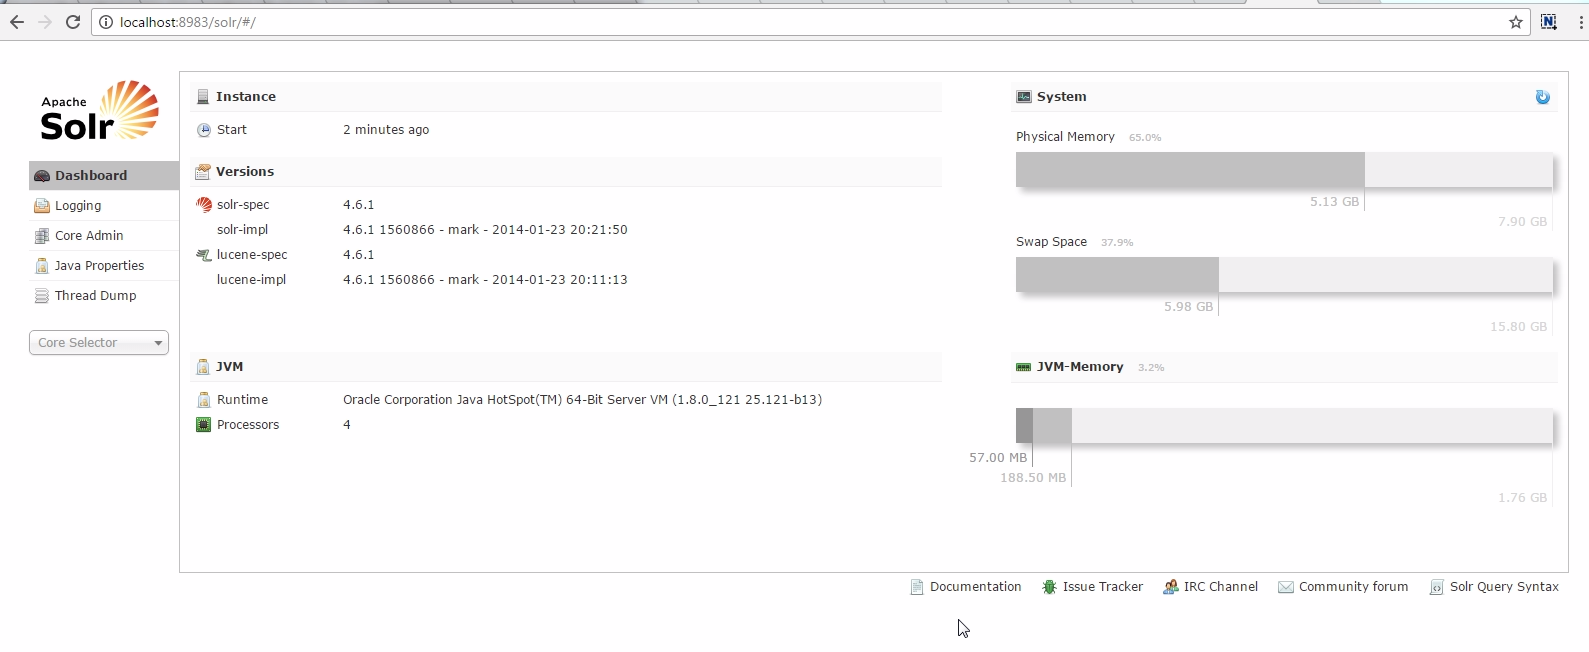
As soon as you run the above command solr will start with default port 8983. That can be accessible on localhost:8983/solr/#/
This will install Solr and run in the background. By default it uses the port number 8983.
You can change default port number to one of your choice.
Step 4: To Configure solr with Drupal 7.x Download solr from https://www.drupal.org/project/apachesolr download the recomended version and install as we do normal module installation.
Step 5: Go to \apachesolr-7.x-1.8\apachesolr\solr-conf\solr-4.x copy all the files to solr server directory [solr-4.6.1\example\solr\collection1\conf\] and replace them with existing files.
After replacing your file should look like.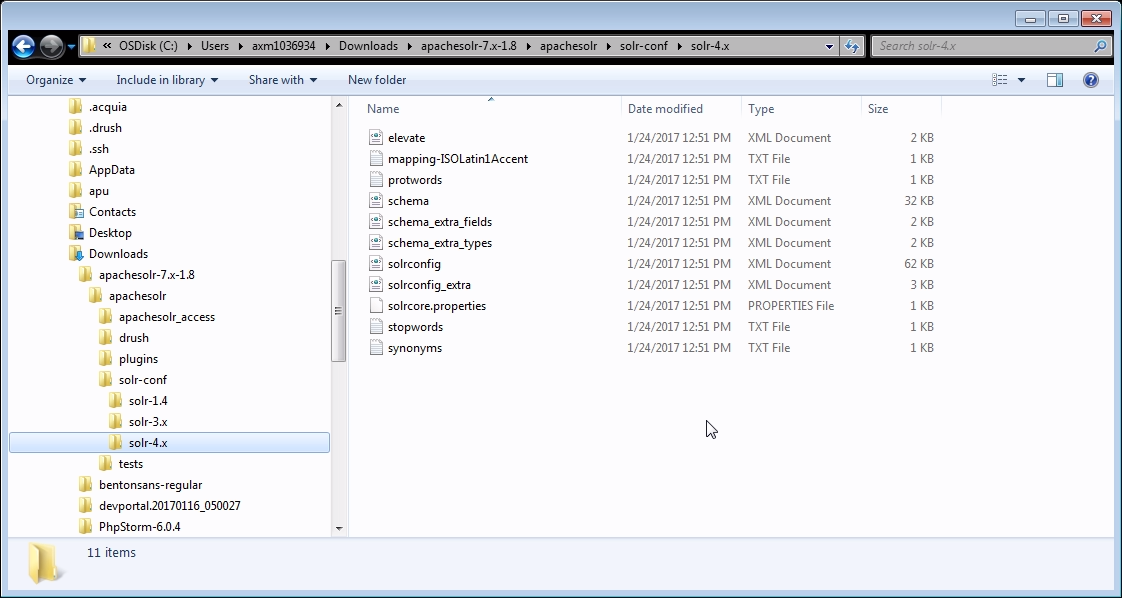
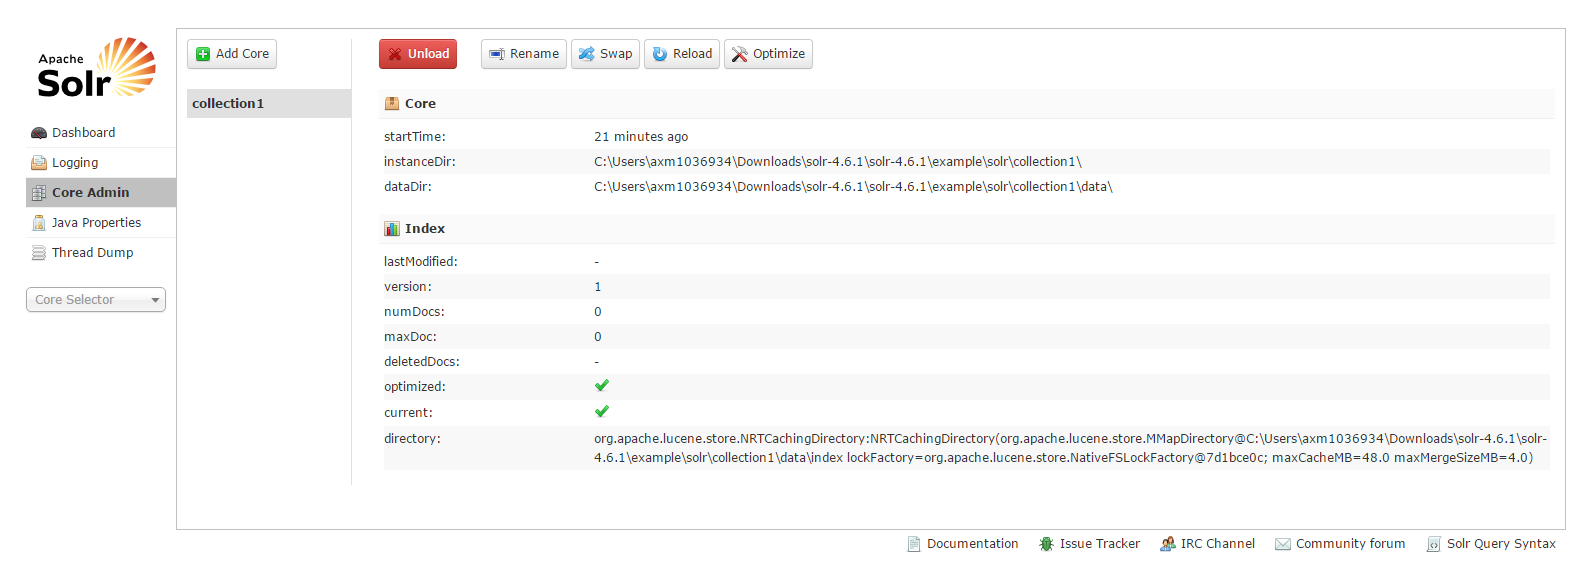
Now your solr admin page look like
Step 6: So we are almost done with solr server setup. Let’s configure on module level
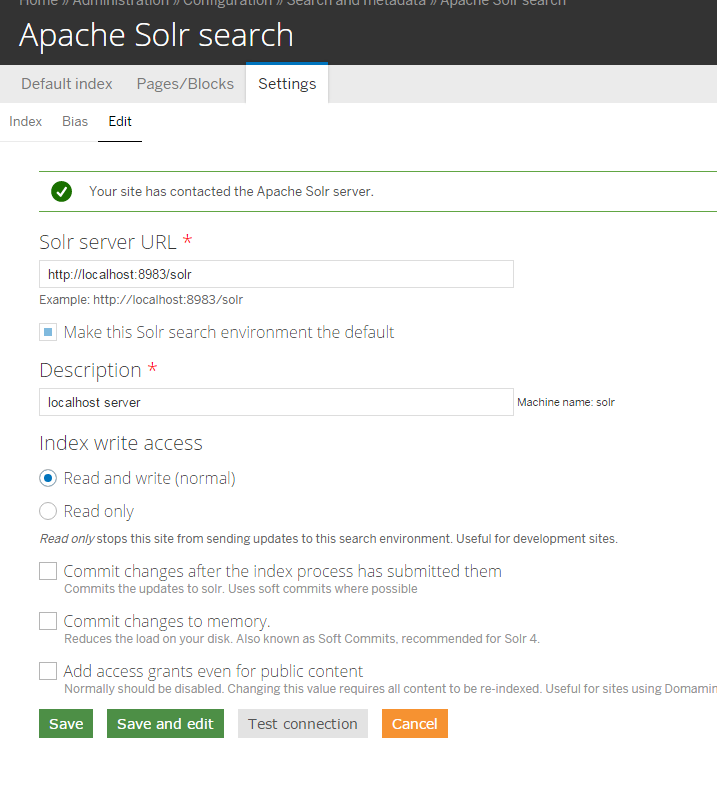
To do this we need to go to solr setting page /admin/config/search/apachesolr/settings
Fill up mandatory detail like solr server url and description and hit on Test Connection button.
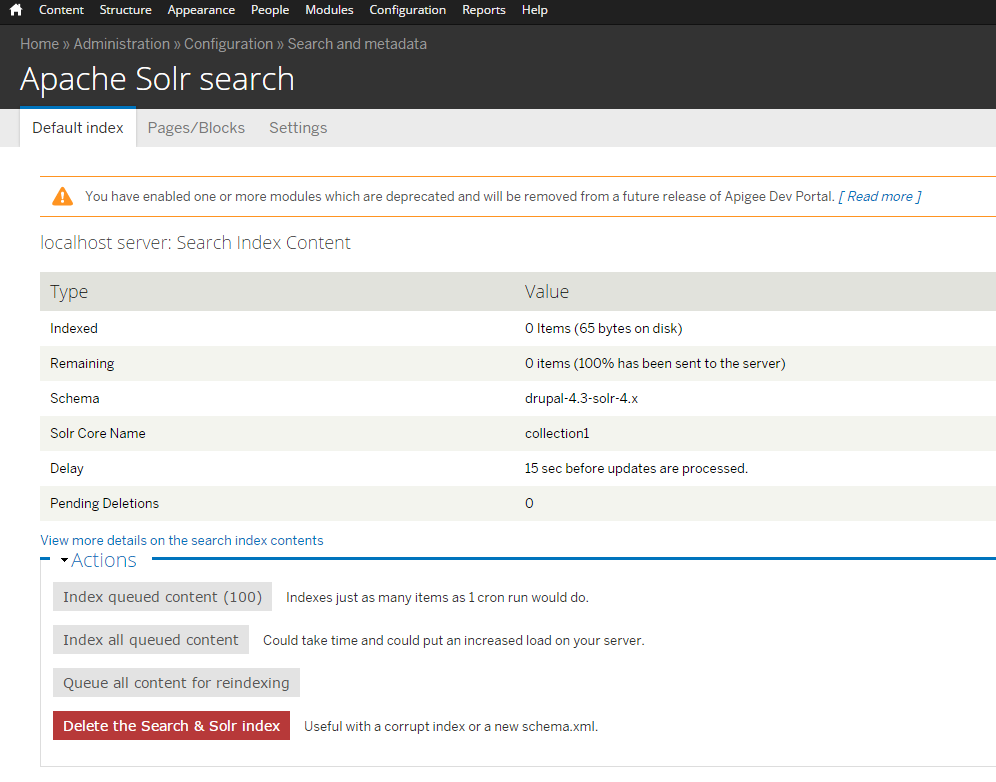
Step 7: Almost done with solr server setup and configuration, let’s do indexing by visiting default index page admin/config/search/apachesolr.
The above steps would cover up solr server installation in your windows machine with configured D7 Apache solr module.
Conclusion: The main objective of this blog is to let the windows user to install and configured solr server and also allowing them to configure with Drupal 7. In present situation we already have variant of solr server on the web but i have recommended to use 4.6.x for Drupal 7.