
Vagrant provides easy to configure, reproducible, and portable work environments built to improve productivity. It allows developers to build the virtualized environment once and keep sharing it for every case.
The file required to have a Vagrant machine i.e the Vagrantfile is written in Ruby, so if you are unfamiliar with it, using Vagrant can be a bit tricky. That’s where PuPHPet comes in. PuPHPet allows you to generate a package that contains all the needed code to create a virtual machine exactly as you decide on PuPHPet’s website.
Installing Vagrant on Windows environment is a multi-step process.
To install Vagrant, you need to download the appropriate version of Vagrant and VirtualBox packages.
STEP 1. Creating a location
Choose a directory where you would like your VM to be saved. This location is regardless of where you save your VM configuration and files. Create a folder where you decide to store your VM. In Windows, we can create a new folder in ‘C’ drive and name it ‘drupalvm’.
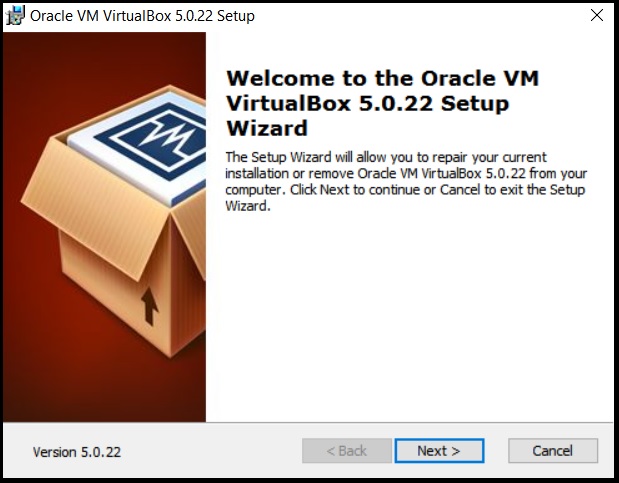
STEP 2. Installing VirtualBox
Next we need to download and install the latest version of VirtualBox for Windows from https://www.virtualbox.org/wiki/Downloads. Follow the normal installation procedure for Windows and VirtualBox should be up and running for you.
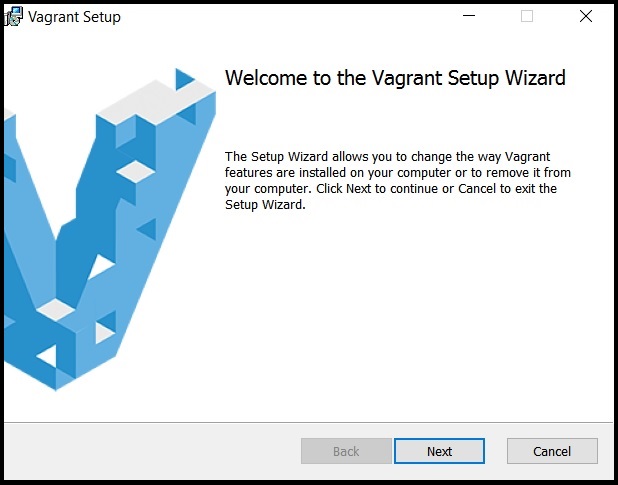
STEP 3. Installing Vagrant
Download the Windows compatible Vagrant package from https://www.vagrantup.com/downloads.html and follow the normal installation steps.
STEP 4. Using PuPHPet to create your VM:
To create your VM configuration at PuPHPet, go to sitepoint.com/build-virtual-machines-easily-puphpet/. Here we will configure our virtual machine as per our need and customize it accordingly.
-
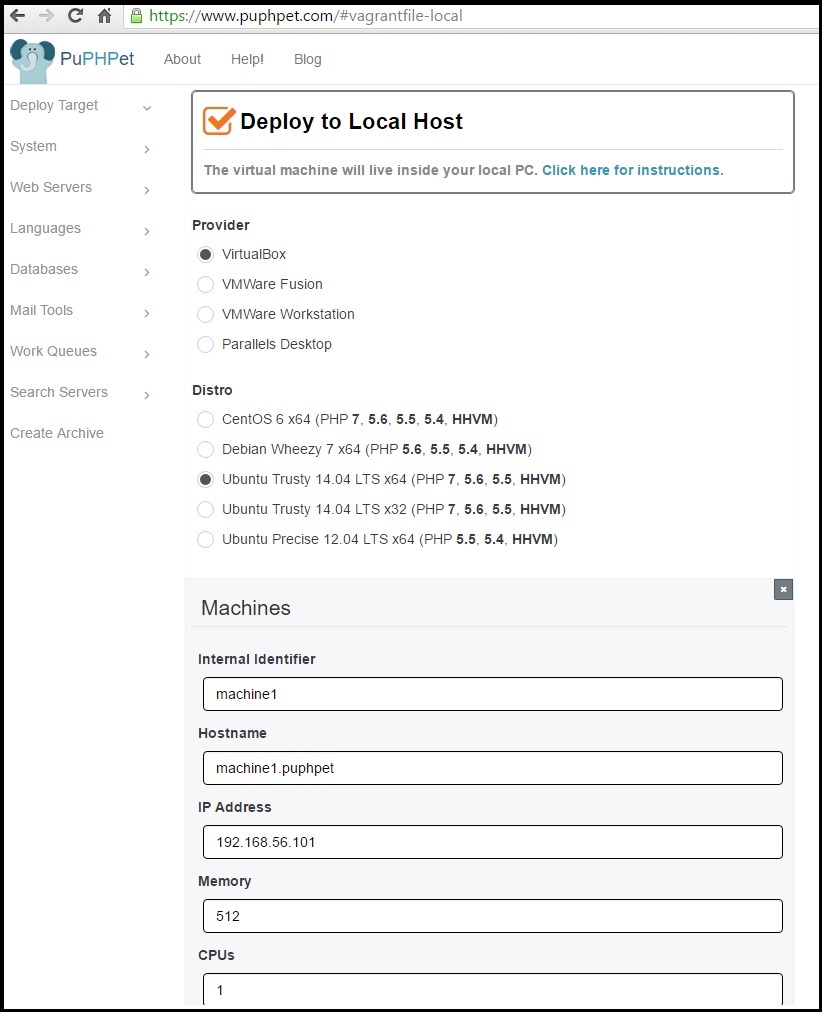
VM Settings: On the PuPHPet homepage, click on ‘Get started right away’. Next, you shall be directed to a page similar to the one below.
-
Over here we shall select the Provider as ‘VirtualBox’ and our Distro as “Ubuntu Trusty 14.04 LTS x64”. You can select a distro as per your need and your system configurations. Leave the other details as default unless there is a need to change them.
-
Click next and move on to select the system packages. Over here select additional packages for your VM as per your need. Else, you can go on to the next step.
-
For a next few steps you can just go on clicking next leaving all the settings as default until you have to select the server.
-
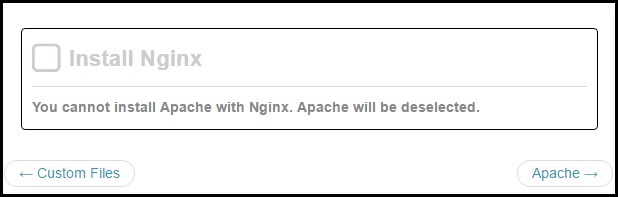
We would be using Apache as our server and so uncheck ‘Nginx’ and move next to select Apache.
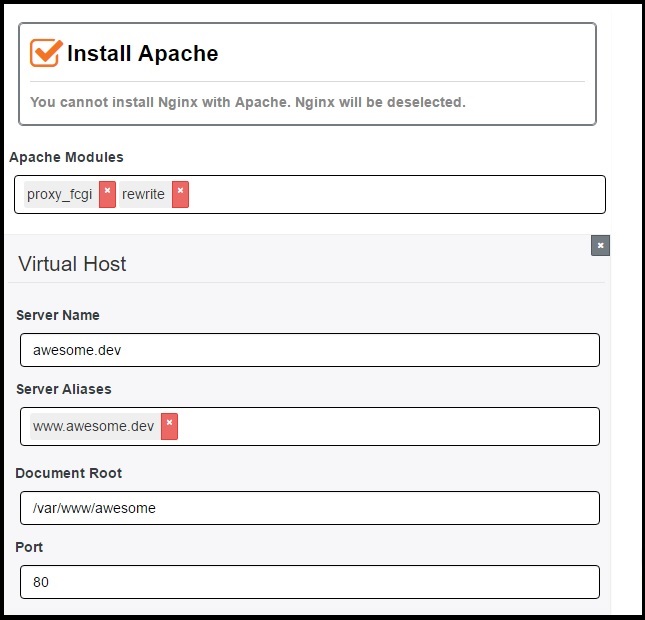
- Again over here we would the settings as default unless and otherwise required to be changed.
- After this is done, you can further move on to the next few steps leaving the details as default. Next you can select the version of PHP you want to run. In my case, I would go ahead with PHP 5.6. Note that Drupal 8 needs PHP version 5.6 and up so select accordingly.
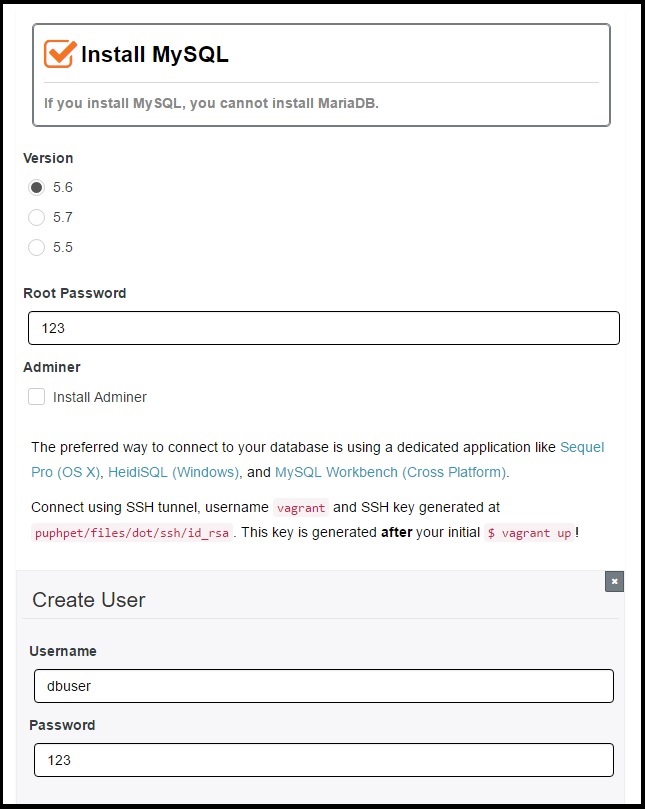
- Next, instead of MariaDB we would be installing MySQL database. Go ahead and uncheck MariaDB to set up MySQL for the VM. You can configure MySQL as per your need. Select the MySQL version as 5.6. Further you can change the username and password if required.
- Further you can leave the configurations as they are for the next few steps. Next you should see a screen with the option to download the your customized archive.

-
Go ahead and download the zipped folder by clicking ‘Download your custom..’. With this you are done with creating a customized VM using PuPHPet.
STEP 5. Setting up your VM:-
-
Once your download is complete, extract the folder to the location where you intend to setup your VM. In our case, we would extract the folder in C:/drupalvm created in step 1.
-
Once this is done, run your command prompt with admin privileges and point to the location of the folder with the ‘vagrantfile’. When you are inside this enter the following command in your command prompt.
vagrant up
-
This would set up vagrant on your system and is expect to take a while. Once this is done just type vagrant in your command prompt. This shall start vagrant on your system. Further you can do a vagrant -v to check the version of vagrant installed.
STEP 6. Setting up the host:-
To create virtual hosts, we need to make changes to the host files on our system. Go to C:\windows\system32\drivers\etc\hosts and make changes to the host file using an editor with administrative privileges.
Go ahead and select a domain name for your Drupal project. You can use anything as ‘drupal8.dev’ as my domain name. Accordingly add this line to the host file:
192.168.56.101 drupal8.dev
The IP address was chosen while creating our VM config file on PuPHPet. If you do not remember it now, you can find it by opening config.yaml using a text editor. The config.yaml file is located inside your puphpet folder, which you placed inside your VM folder earlier. We have just completed configuring a VM on our computer.
With this we are done with configuring a VM on our system. Go ahead and type the domain name - drupal8.dev in your browser to access it.
You can learn more on Drupal development in our upcoming book co-authored by team at Valuebound.