In this post, we'll continue site building by adding menu items to our newly created Drupal 8 website. We will create custom menu which'll be used to display links, then assigning these links to a page. We will also add a menu link to specific region within the theme for demonstration purpose.
Managing Drupal menu happens within administration sector. To begin, login as an administrator in your website.
Although there are several default menus available in core, we have ability to create custom menu using admin interface. This has to be done in two parts, first is to create structure of the menu and the second is to add links to it.
Step 1: Create a Menu
To create a menu, visit Manage >> Structure >> Menus
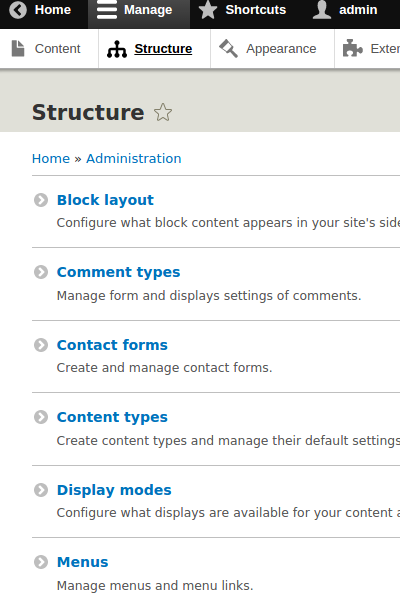
In Drupal 8 menu is categorised in 4 sub category
- Administration
- Footer
- main navigation
- Tools
- User account menu
Administration menu
By visiting admin/structure/menu/manage/admin you can view list of all admin menu including parent child menu on this page
Content, Structure, Appearance, Extends, Configuration, people, reports, Help are part of admin menu.

Footer Menu
Visiting admin/structure/menu/manage/footer page will list out the footer menu items.
Main Navigation Menu:
You can view all main navigation menu items under admin/structure/menu/manage/main .

Tools:
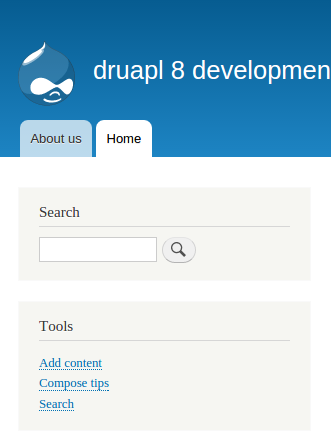
Browse the admin/structure/menu/manage/tools, it will list out shortcut icons available in sidebar block region
User account menu:
This will list out user related menu items e.g: My account, Log out, profile.

Step 2: Add Menu Links
In the previous step we have learned about different type of menu available in Drupal core. Now lets create our own a new menu. licking on the +Add menu button. You also have option to create a new menu category by visiting admin/structure/menu and clicking on +Add menu button.
Step 2.1
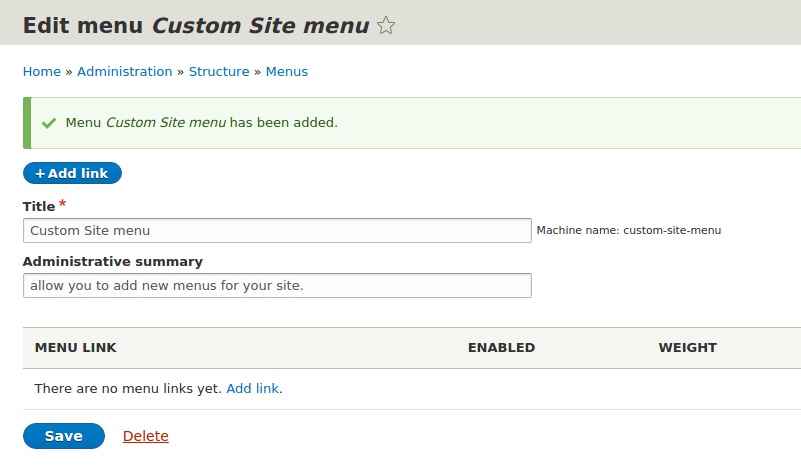
We are going to create a new menu category and add links to the same. once we filled up Title and summary, click on Save button. This will redirect to add link page.
Step 2.2
On admin/structure/menu/manage/
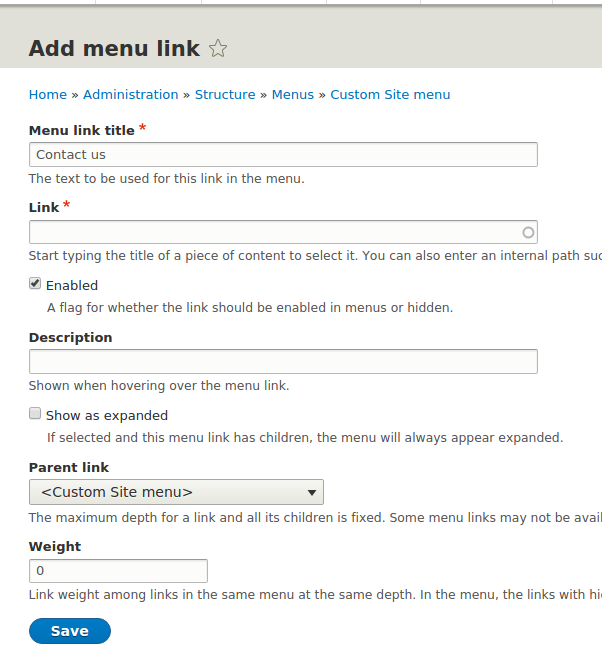
The page redirect to menu configuration. where we can provide specific title with pointing node id, description, weight. node enabled disabled option.
Step 3: Assign the Menu to a Block
Once the menu is created we can assign this to specific region in our website.
Visit admin/structure/block and click on any of the region where you would like to place the menu block. I am assigning to Secondary menu. Click on place block and search for our new menu block.
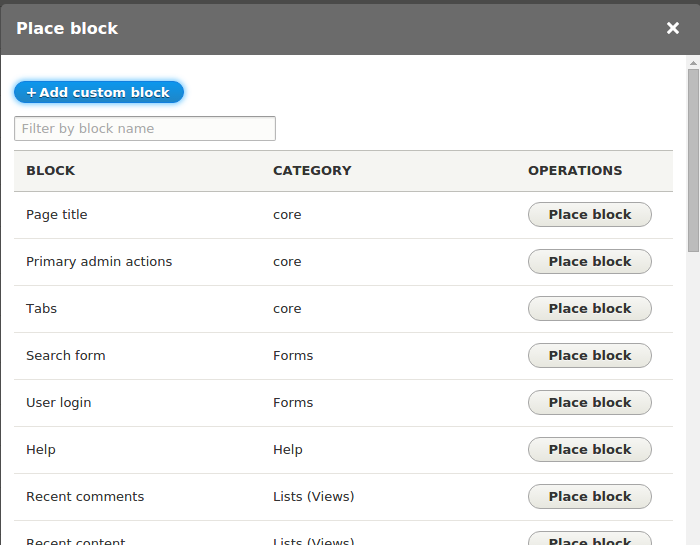
We can Configure the drupal blocks based on different criteria like:
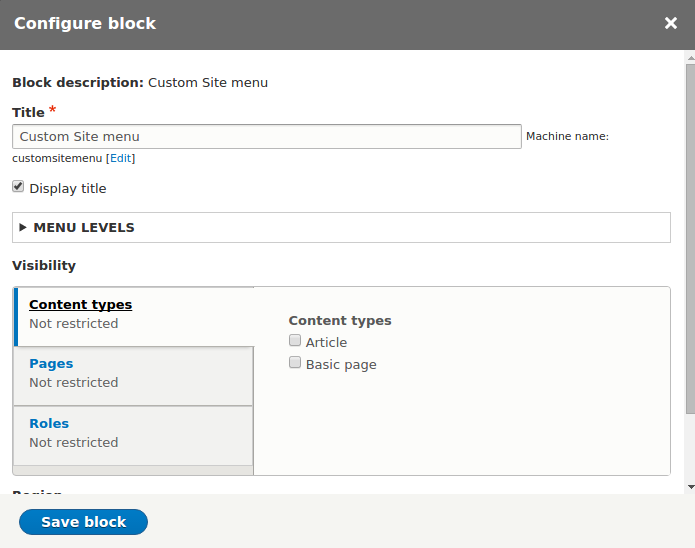
Content types: This option list out the available content types where we can assign if the block should be displayed or not for selected ones.
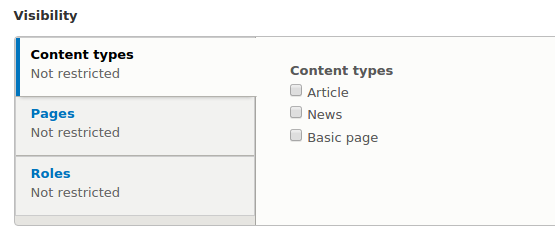
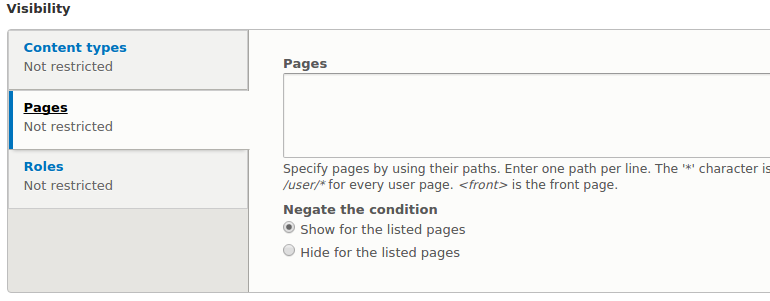
Pages: In this tab we can configure block visibility based on page url or by node id. We can have add multiple node id, each in new line.
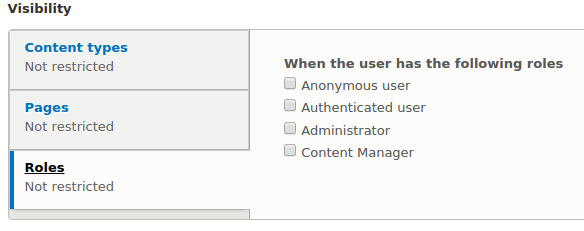
Roles: Using this option we can decide which role(s) can view this block ?
this tab will list of roles available in your site. We can check one or more than one roles for visibility setting.
We can rename the block title as well as have option to enable/ disable them.
Once you have done with all the settings click on save block button.
As I have selected show for the listed page “
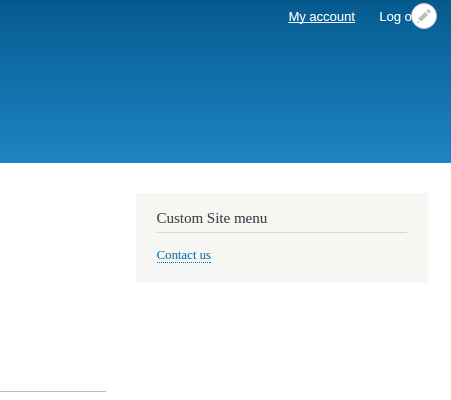
Now we can review our block in the region.
From site building perspective, menu UI is similar to what we used to have in Drupal 7 ut from the architectural point of view, the routing system in Drupal 8 has been built using Symfony components. I will be covering this in my future blog post.
