
In Drupal whenever you are making changes in settings configuration changes are made. For example if we enable a permission then its a configuration change. Another example is if place a block in a region it's a configuration change. It is not recommended to make configuration changes directed in live site.
We make configuration changes in our local environment and then move these configuration to live site. But in some case there are configuration changes as well as content changes , For example Block creation is content changes and placing block is a configuration changes.
Below listed are considered configuration:
-
Content Types
-
Block Types
-
Everything under Admin -> Configuration
-
Everything under Admin -> Appearance,
-
Views.
Below listed are considered content and are not touched by this system:
-
Nodes
-
Custom blocks added on admin/structure/block/block-content
-
Users
-
Content for other entities
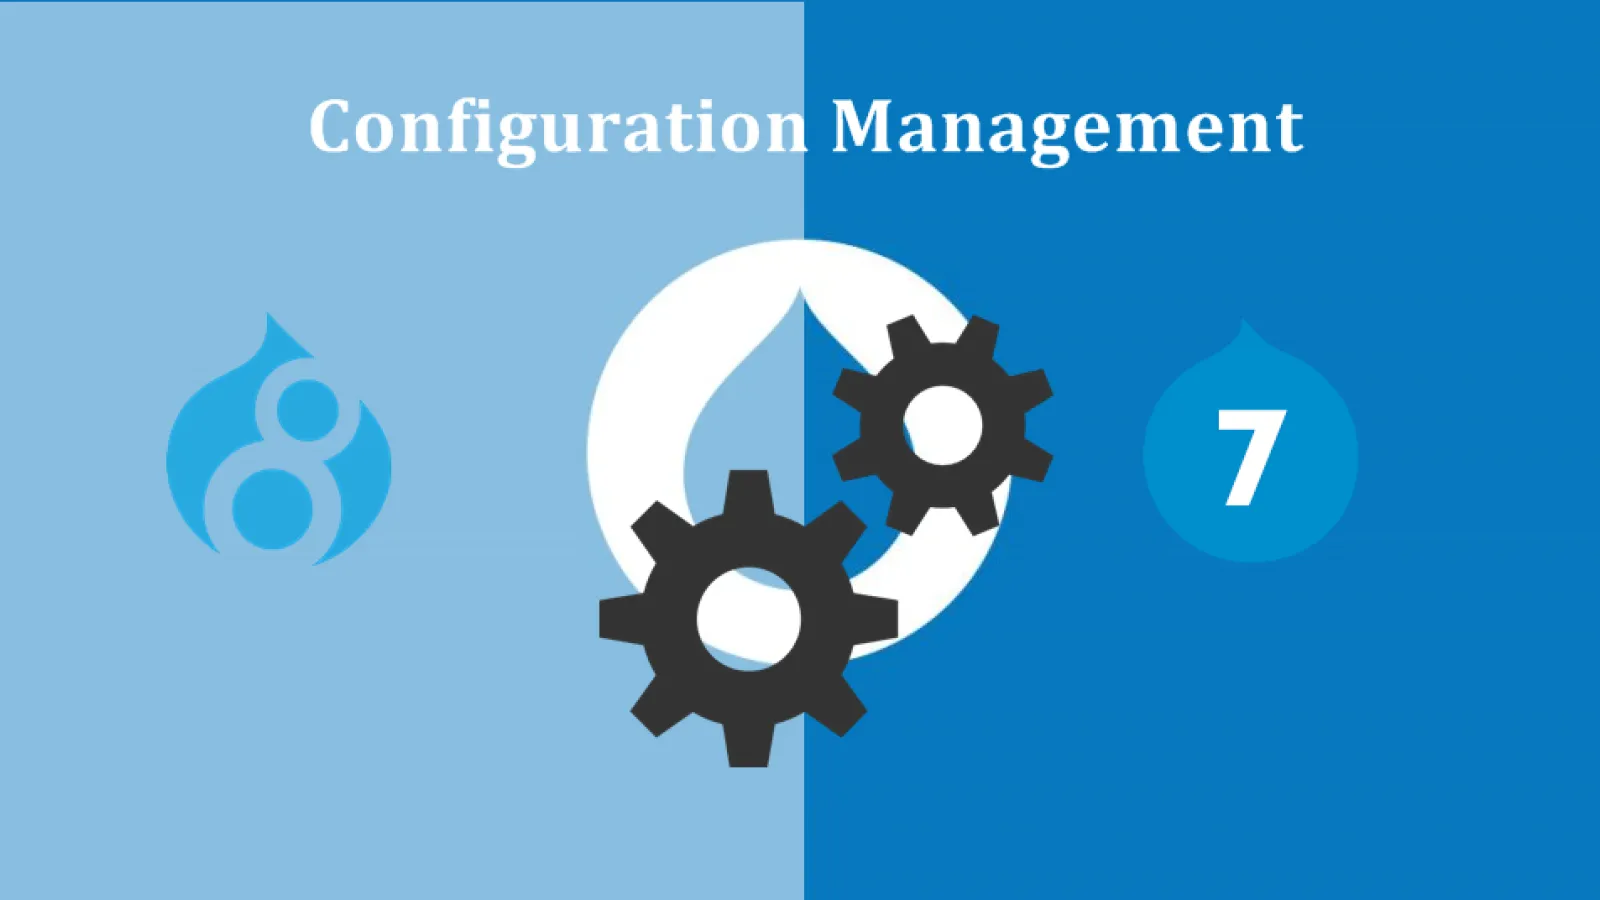
One of the best improvements in Drupal 8 is the new configuration management system. This post explains how things have changed from Drupal 7, and how Drupal 8 deals with configuration management.
Configuration in Drupal 7
If you’ve worked on site building or programming in Drupal 7, you have worked with the Features module.
So we can say that Configuration in Drupal 7 is done by Feature module. Features made it very simple to do this and not have to remember all of the config changes.
Configuration Management System in Drupal 8
The configuration management system in Drupal 8 solves a lot of the problem which we faced with Features in Drupal 7. Below I explain how to use the Configuration Management system in Drupal 8 works.
Content in Drupal 8 vs Configuration in Drupal 8
In Drupal 8 is easy to understand what is considered configuration under database change and what is considered content in D8 data content change. In Drupal 8 configuration management system handles is configuration. Here are a few things that below listed are considered configuration as in YAML file:
-
Content Types
-
Block Types
-
Everything under Admin -> Configuration
-
Everything under Admin -> Appearance,
-
Views.
Here are a few things that are considered content and are not touched by this system:
-
Nodes
-
Custom blocks added on admin/structure/block/block-content
-
Users
-
Content for other entities
Moving content from the environment to environment (not config) requires a different module flow (one example would be the Deploy module) and isn’t handled by configuration management.
Get Familiar with the Drupal 8 Configuration Management System
Hands-on learning are really the only way to understand Drupal 8 configuration management. Create new sandbox D8 site or using a development D8 site locally so that you can experiment. Once you have your environment set up work through some common use cases.
Step #1: Enable Configuration Management and go to Synchronization admin page
Make sure the “Configuration Manager” module is enabled. Clear Drupal cache (drush cr) after you enable the module, which is included in Drupal 8 core.
Go to the Synchronize admin page: /admin/config/development/configuration.It will tell you the config files that have changed between the active configuration (what is in the Drupal DB) and what is staged (in the config YAML files) but also allows you to click on each row to view the exact differences.
Step #2: Export Your Active Configuration
Before you sync configuration between environments, you need to first do a full export of your active configuration by drush cex or by UI. This creates the configuration YAML files in your config_files directory. By default this directory is in your user uploaded directory, you change configuration path in settings.php where all yml will be saved.
There are below listed ways to export your active configuration change to the config YAML files in your sync directory:
-
Run drush config-export (or drush cex)
-
Go to the Synchronize admin page, click on the Export tab -> Full Archive and download the exported file. You then need to manually extract the compressed file and move those files into your config_files directory.
-
Synchronize admin page(/admin/config/development/configuration) should not list any differences between your Active configuration (Drupal DB) and the Staging configuration (config YAML files). At this point, you can commit the config YAML files to your repository.
- The Synchronize admin page should not show any differences between your Active configuration (Drupal DB) and the Staging configuration (config YAML files). At this point, you can commit the config YAML files to your repository.
Step #3: Understanding Exporting and Importing Configuration
If you have used Features in Drupal 7, this should be familiar. There are two ways to handle configuration:
Export
This is what you did in Step #2. The configuration defined in your Drupal database and converting it to YAML config files. I suggest using the drush cex command to make this simple.
Import
Export provides a way to go from the Drupal database to config files. Import does the exact opposite. To do this you can click on the “Import All” button on the Synchronization page, or use the drush command: drush config-import (or drush cim).
To understanding the concept is that when you drush cex (export), you are having your config files deleted out and match your Drupal database config exactly. When you run drush cim, you are wiping out the configuration in your Drupal database and having it match what is in your config files exactly. This is important because you need to understand when you should run each of these commands. See the How to Avoid Issues section below for a way to easily avoid this problem.
For example, if you apply a config in the Drupal admin, and then run drush cim you are going to delete out the configuration change you just made in the Drupal admin. If you pull in config file changes from your code repository, apply a change in the Drupal config admin area and then run drush cex you will wipe out the new changes that were pushed to the repository.
You can refer drush based workflow doc page for more info.
Step #4: Enjoy your Drupal 8 configuration
At this point, your active configuration should 100% match your staging configuration. It is time to understand what happens when your Drupal config changes and when your staging config files change.
Drupal Config Changes (Drupal database)
Let’s make a very basic change in our Drupal DB configuration and see what happens.
(1) In the drupal admin area, make a simple config change. For example, go to /admin/config/system/site-information and update the Site Name field.
(2) Go back to the Synchronize admin page and notice what happens:

It is telling you you're active and staging config do not match. Click on the View Differences button to see what has changed:

(3) On the left, it is telling you what was changed in your Drupal DB configuration. On the right, it is showing you what is defined in the config files (staged).
(4) when you run drush cex or drush cim is the best way to understand how things work. If you export what is in your active configuration will also be in your staged configuration (which is probably what you want in this case). don't , the change you just made that will wiped out and it will go back to what is in your configuration files.
Note: This illustrates the idea that if you pull in changed config files and update Drupal config in the admin right after that, you are going to be in a pickle in that you will either have to wipe out the changes in the config files or wipe out the changes you just made in the Drupal config! Later in the article, I document a process in avoiding this scenario.
Staged Config Changes (config YAML files)
Now we need to see what happens when the config files are changed. This would happen if someone exported new config they made locally and pushed to the repository. In this case, you usually want to make sure your Active configuration gets updated with what is in the config files so you don’t wipe out their changes.
(1) Make a same change by Drupal admin, directly to the config files. Now you don’t necessarily have to get comfortable working with the config files directly, but it does help to have a basic understanding of how the YAML works.
(2) Go to your config_files directory and open the system.site.yml file. Change the value under the “name” key to something different.
(3) Go to the admin synchronization page and click the View Differences button. It should look like this:

Notice how the change, in this case, appears in the Staged column? That is because the change was done in the configuration files and not in the Drupal admin area.
(4) You need to run drush cim to get your active configuration from your config files. If you run drush cex at this point, it will wipe out what was in the config files.