

Hey all, I’m a Drupal enthusiast, an engineer in the making from Goa College of Engineering with interests in web technologies and internet of things and currently doing internship in Valuebound. Stay tuned for my upcoming blogs.
In this blog, I would be installing PhpStorm IDE for Windows and configure it to work with Drupal. This post is for the benefit of all those who are new to Drupal and the learnings have been inspired from the book Drupal 8 Development: Beginner's Guide. There are many other alternatives to PhpStorm such as Eclipse, NetBeans, Komodo IDE etc. but of late PhpStorm has emerged as the preferred choice of the developers. There are quite a few advantages of using PhpStorm over other IDE’s. It’s Drupal friendly, and drupal development plugin comes pre-installed with PhpStorm. Although it’s a paid software you might qualify for free license if you are a student or working on open source projects.
Developing in Drupal involves a lot of testing and debugging at various stages. Using an IDE for the development work helps this task and is the most preferred approach adopted, while developing in Drupal.
Before the PhpStorm installation, it is assumed that Drupal has been previously installed on your system. If not, it can be installed via XAMPP over the localhost or via Acquia Dev Desktop. Over here, we’ll be linking PhpStorm to our existing Drupal installation over XAMPP server.
So let’s dive in and start the process.
STEP 1:- Downloading PhpStorm IDE
PhpStorm is a product of JetBrains (previously IntelliJ).
-
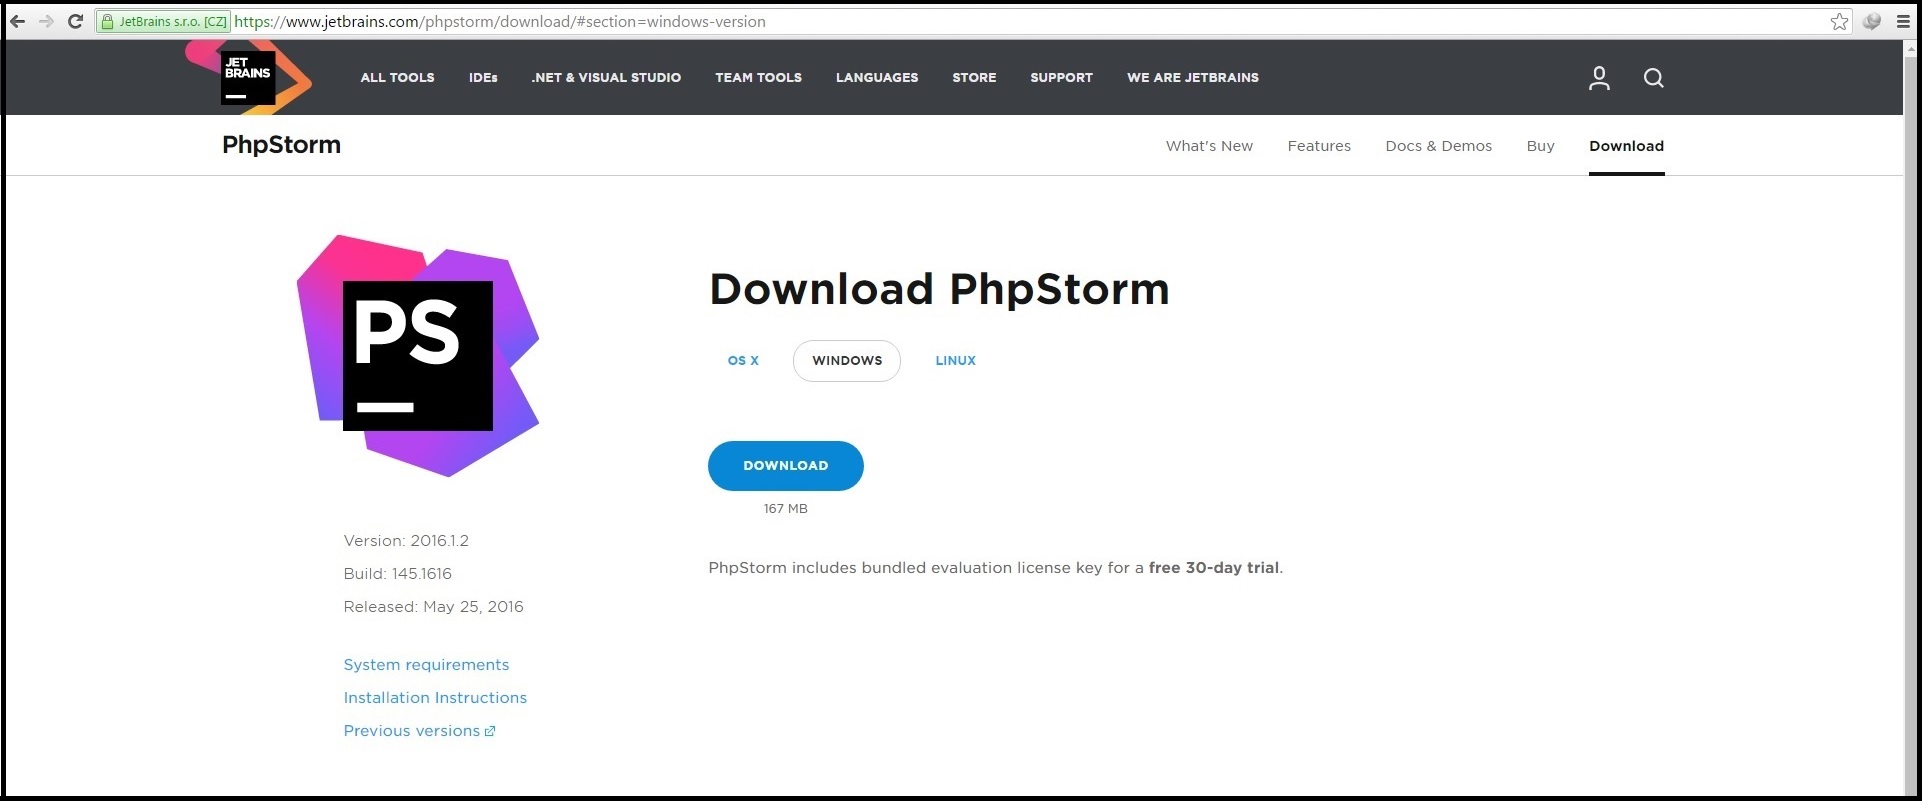
Visit the link www.jetbrains.com/phpstorm/download/ to get a list of all the versions of PhpStorm for different OS’s. As mentioned earlier, we are going to install PhpStorm for Windows, so go ahead and download the Windows compatible version of PhpStorm.
STEP 2:- Installing PhpStorm IDE
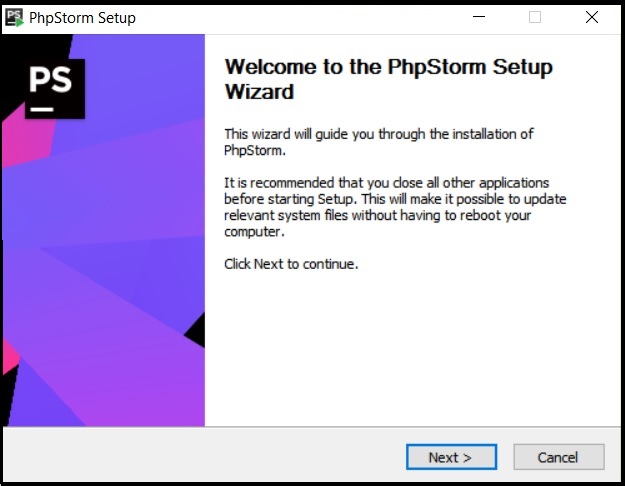
Once the download is complete, open up the file to start the installation process. Go ahead and click next.
-
A. On the next screen, select the appropriate option for your system to create a desktop shortcut and choose the associations that you want PhpStorm to have. Selecting a particular association would enable the IDE to recognize and highlight the syntax of that option while using that particular line of code in the IDE.
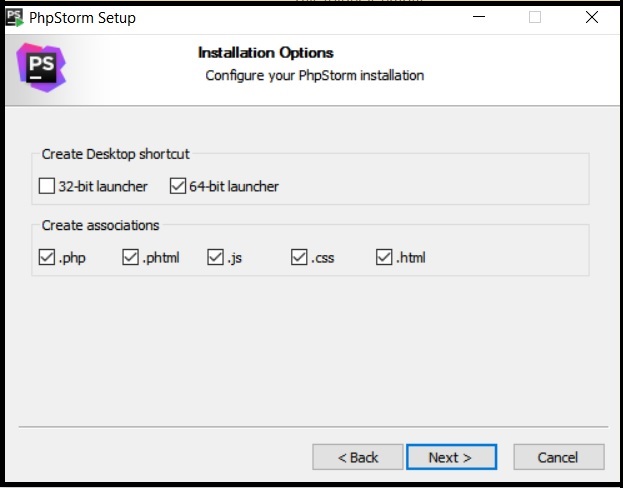
To keep things simple, let us select all the available associations. That will also help us in the long run. These associations can be created post the installation too, so you don’t have to worry much about them.
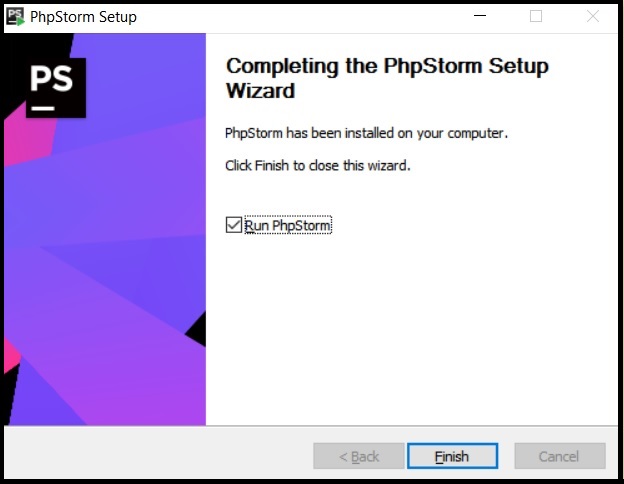
- B. Click Next, for a couple of more steps involved in the installation and finally, you should be having a window saying ‘Phpstorm has been installed on your computer’. Go ahead and run PhpStorm.
Congratulations!! You have successfully installed PhpStorm on your system.
STEP 3:- Linking PhpStorm to the existing Drupal installation
So now that PhpStorm has been installed, let us link our existing Drupal installation to it.
-
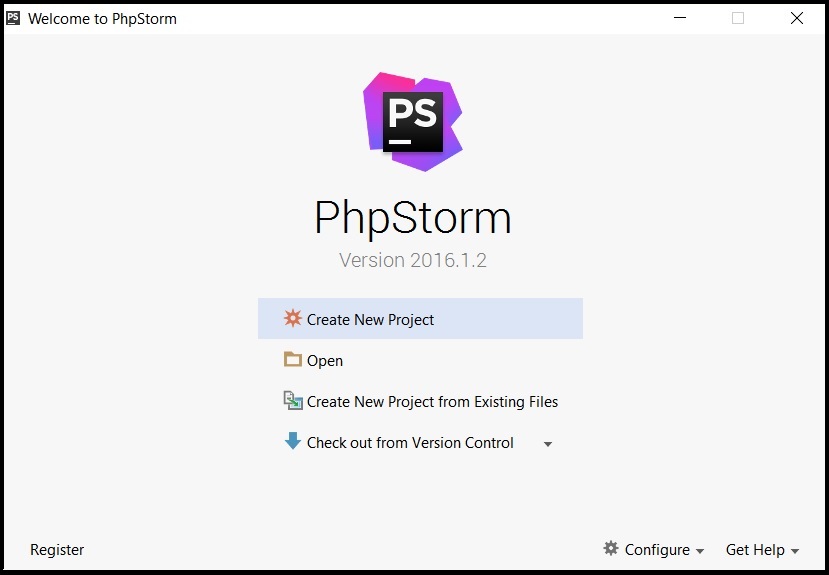
A. Run your newly installed PhpStorm IDE and you should see a screen similar to what is present below. Select the option ‘Create New Project’ and point to the location of your existing Drupal installation on the system. As mentioned, I’ve my Drupal installed over the XAMPP server. So I’ll be pointing out the project location to the location of existing Drupal installation over XAMPP. You can go ahead and point the location to where you have installed your Drupal.
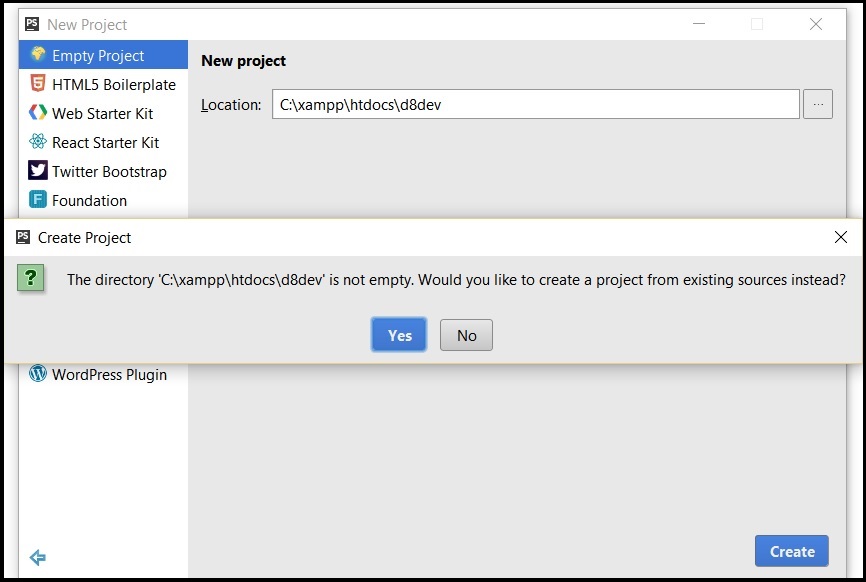
- B. On the next screen, you should see that PhpStorm recognizes that the directory is not empty. Go ahead and Click ‘Yes’ so that PhpStorm creates a project from the existing Drupal installation.
After all this is done, your PhpStorm IDE should be ready with all the existing Drupal installation files in the Projects window. Also as soon as the project is imported, the IDE starts indexing the project files on the system. Once this is done, you should see a screen similar to the one below.
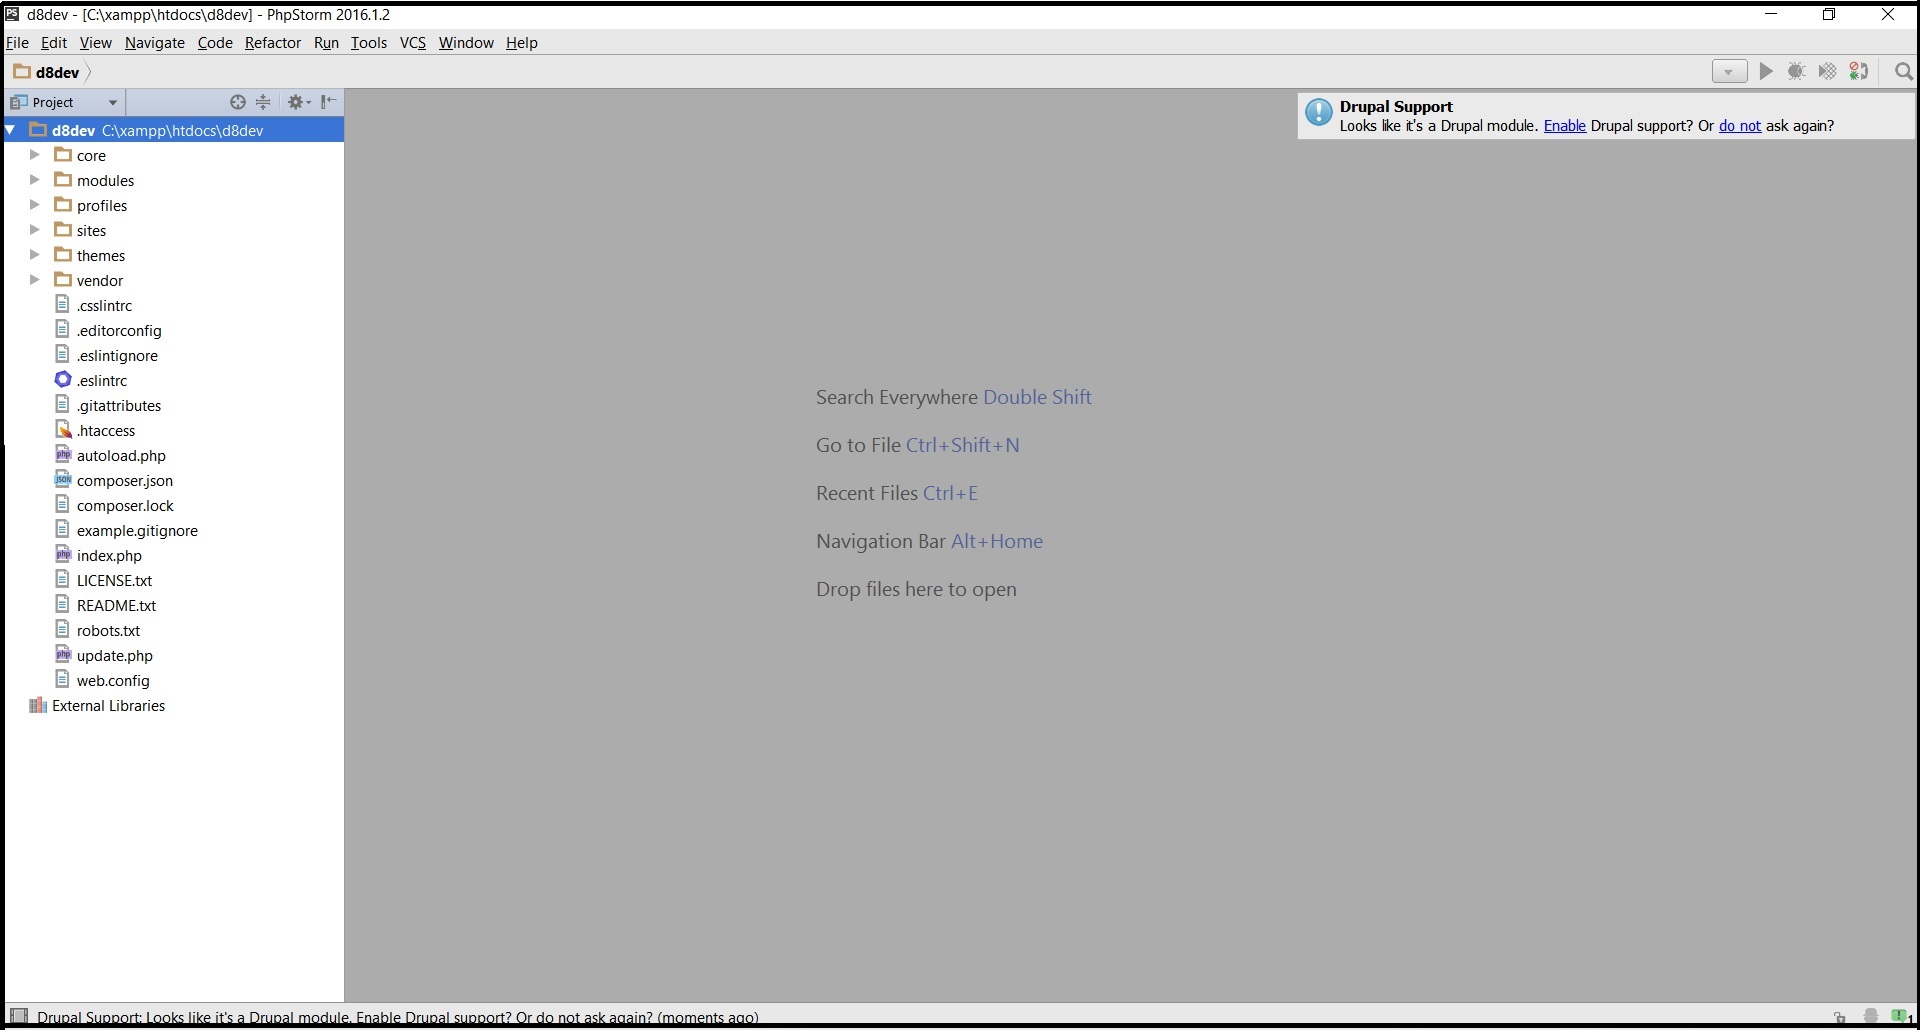
As evident from the screen, PhpStorm has already recognized that the new project is a Drupal module and would ask you to enable Drupal support for the same. This option pops out on the top right corner of the screen.

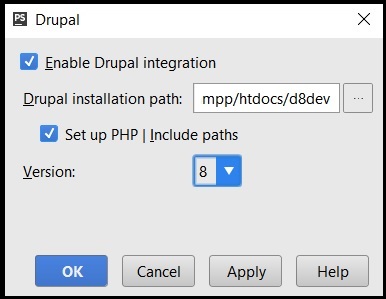
- C. Go ahead and click ‘Enable’ so that PhpStorm extends the Drupal support for the newly imported Drupal project. Next you would be asked to enable Drupal integration and to select the version of Drupal to extend support to. In my case, I’ve Drupal 8 installed on my XAMPP server so I will select version 8 on the pop up window.
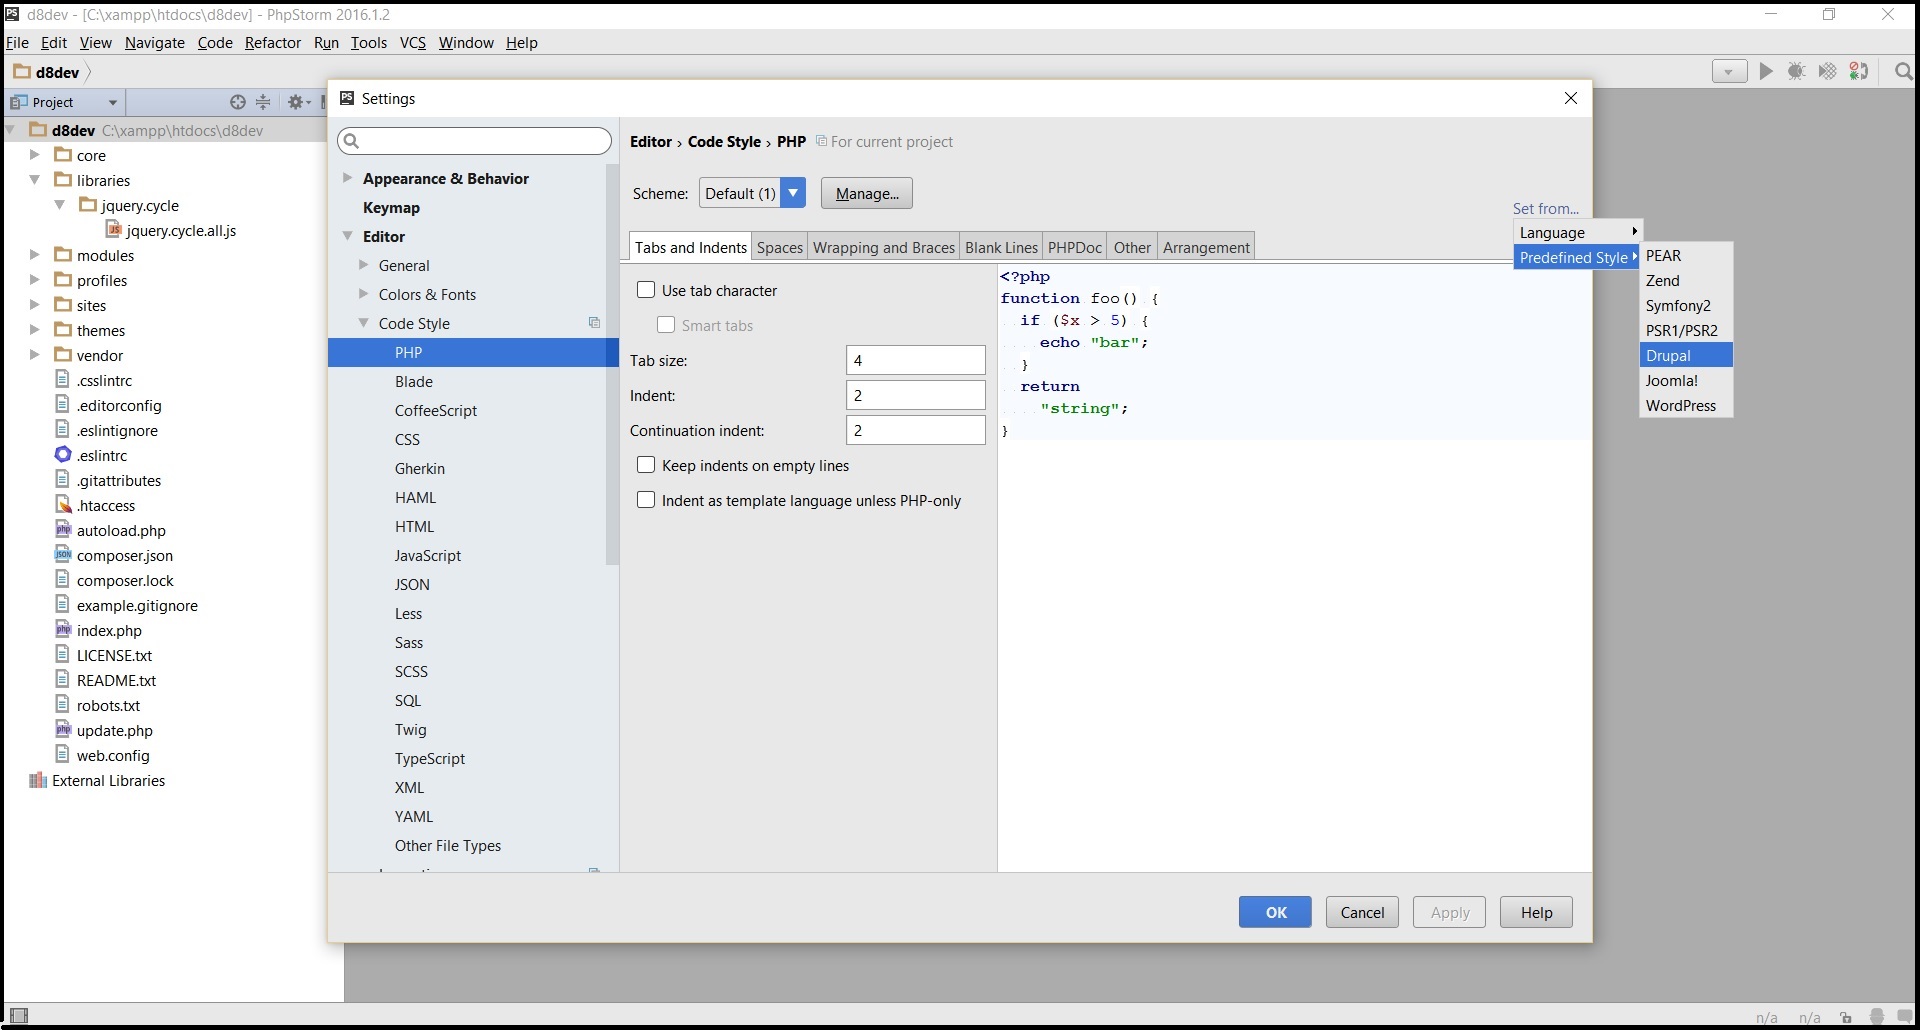
- D. Next, we will configure PhpStorm to follow the Drupal coding standards. For that - go to setting from file menu > Editor > PHP > Set from > Predefined style > Drupal. Most of the configurations would be handled by this. If not, you would have to configure it manually and cross check all the configurations.
Congratulations! The installation of PhpStorm and the linking of the existing Drupal project to PhpStorm is complete. You can now go ahead and develop, test or debug your Drupal modules, themes etc. right from your PhpStorm IDE.
You can learn more on Drupal development in our upcoming book co-authored by team at Valuebound.
