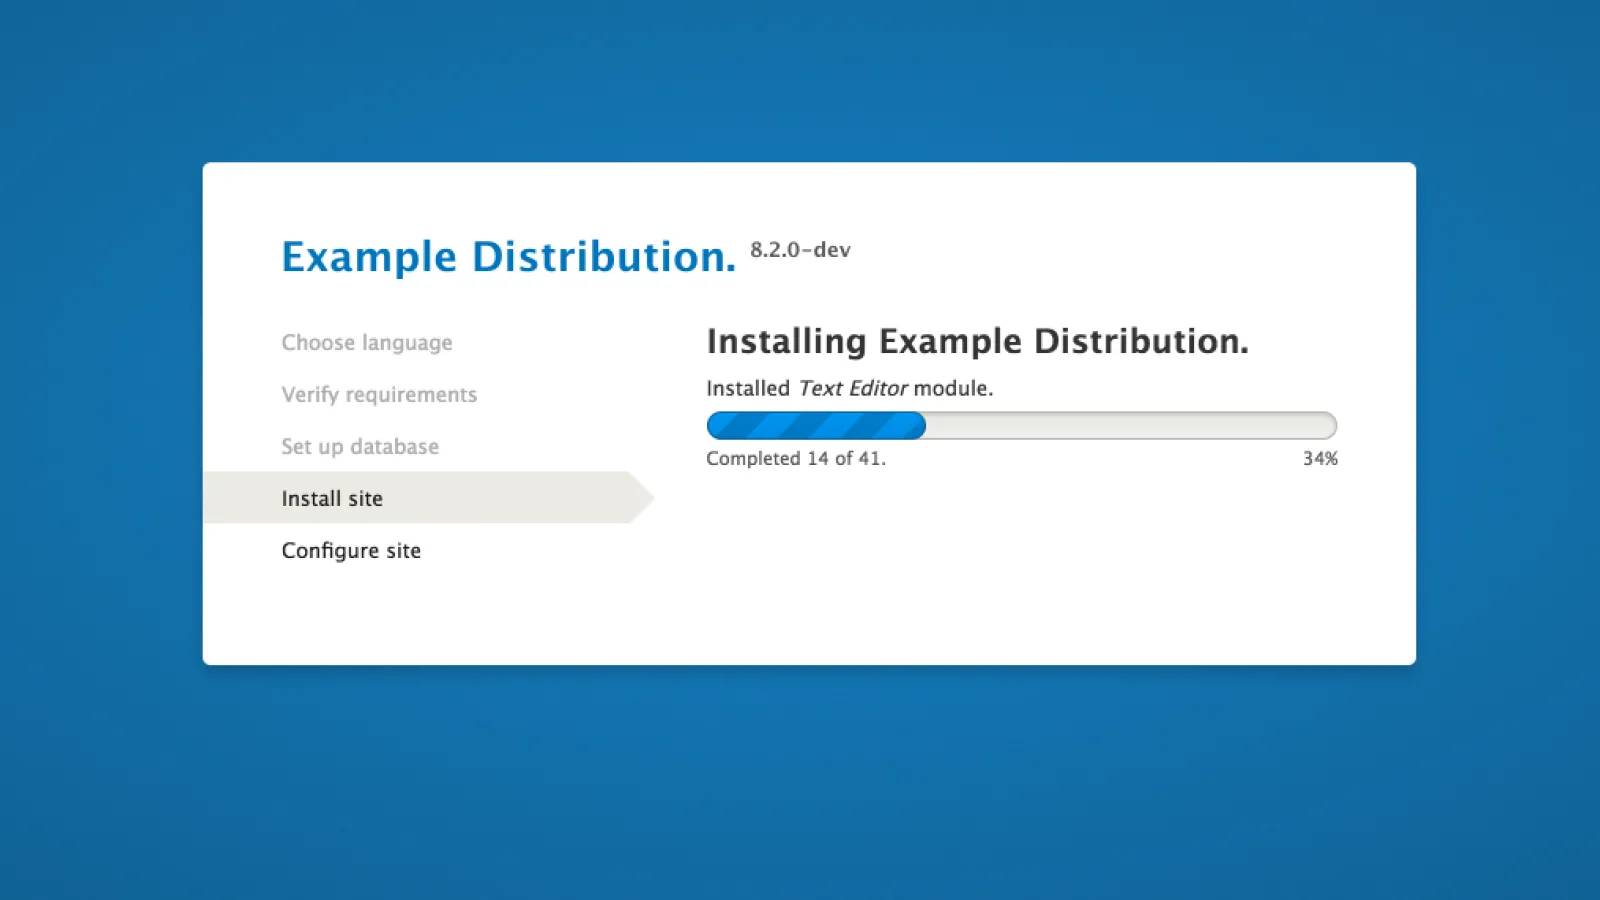
Creating an installation profile in Drupal 8 is quite easy according to my humble opinion. Why? Because of the Configuration Management System in Drupal 8. In Drupal 7 we had lot of amazing contributed Installation profiles like Commerce Kick Start, Open Atrium, aGov, etc. Here we are going to discuss about how to create the installation profile in Drupal 8 and the benefit of using an installation profile in our Drupal Development World. Before that let us find out the answers for the following questions….
What is the Usage of installation profile?
Why do we need to create installation profile?
When do we need to think about architecting an installation profile?
How to reduce the development hours by creating an Installation Profile or Distribution in Drupal 8?
Thank God, I was one of the fortunate to work along with my Valuebound team members for some top Media companies like Time Inc and FarmJournal Media. All of these companies have a lot of websites with similar basic features, so it makes sense to create an installation profile with the basic set of features / functionalities. Similarly, developing websites for Universities, each University will be having multiple websites for different departments and branches. By creating an installation profile or distribution for the same, with the basic set of features will ease the development and deliver the Websites on time. Why? Because it reduces more than 30% (minimum) of development time. Thunder is one of the best example of an installation profile / distribution created by the media publishing company Hubert Burda Media.
How to create installation profile in Drupal8?
There are couple of steps involved in it, which is
- Selecting the machine name for the installation profile.
- Creating the Structure.
Selecting the machine name for the installation profile.
In this step we can decide what should be the machine name for our profile. Suppose our profile name is ‘Example Profile’ and machine name for this will be ‘example_profile’. The machine name can contain only lowercase letter and underscore.
Creating the Structure.
The structure has following files.
- Profilename.info.yml
- Profilename.profile
- Profilename.install
- Config folder.
- Translation folder(optional).
All the above steps should be inside the ‘/profile/your_profile’ folder under your ‘Drupal root Folder’. Here our profile name is “Example Profile”, So we have to do the action under the following directory.
“Drupal_root_folder/profile/example_profile”
1) Creating the Profilename.info.yml
Here we are creating the ‘example_profile.info.yml’.
In the ‘example_profile.info.yml’, We are having the following terms.
- name: This the name of your profile.
- type: What type it is whether it is module, theme or profile. Here we having ‘profile’.
- description: Describe about your profile / distribution.
- distribution: (Optional) Declare your installation profile as a distribution, This will make the installer auto-select this installation profile. The distribution_name property is used in the installer and other places as a label for the software being installed.
- dependencies: Required modules.
2) Creating profilename.profile
.profile file is very much like .module on the module. It has all the access like .module has. Here we having ‘example_profile.profile’
3) Creating profilename.install
In this file provide Install, update and uninstall functions for the profile.
4) Config folder
Config folder makes the difference from Drupal 7 to Drupal 8. Because of CMI in Drupal 8, it is very easy to add the features or function as config files under ‘config/install’ in your profile root directory. You can import the configuration from an existing site and keep it in in the ‘config/install’ folder. For an example we have created and exported the configuration for a view called “Example View For Example profile”. But we need to carefully follow the couple of steps which are mentioned below,
- Copy all of the modules and themes listed within core.extension.yml into your profile's info file (using the new info file's format).
- Delete core.extension.yml, file.settings.yml and update.settings.yml
- Remove all of the UUIDs from your config files so that they don't conflict with those of new sites. Use phpstorm and use following regular expression in the ‘Replace option under Find in View options’. [View >> Find >> Replace]
“^uuid: .*\n”
Please check the following image for more clarity.

Now our installation is ready to use.
The source of our example is: https://github.com/rakeshjames/example_profile
Conclusion:
If you are developing ‘x’ number of websites having basic features / functionality / requirements which are similar, then it is always good to consider creating an installation profile and Keep it. So that it will save at least 30% of overall development time. Which means you can use that time more effectively on your development to manifold your productivity.


